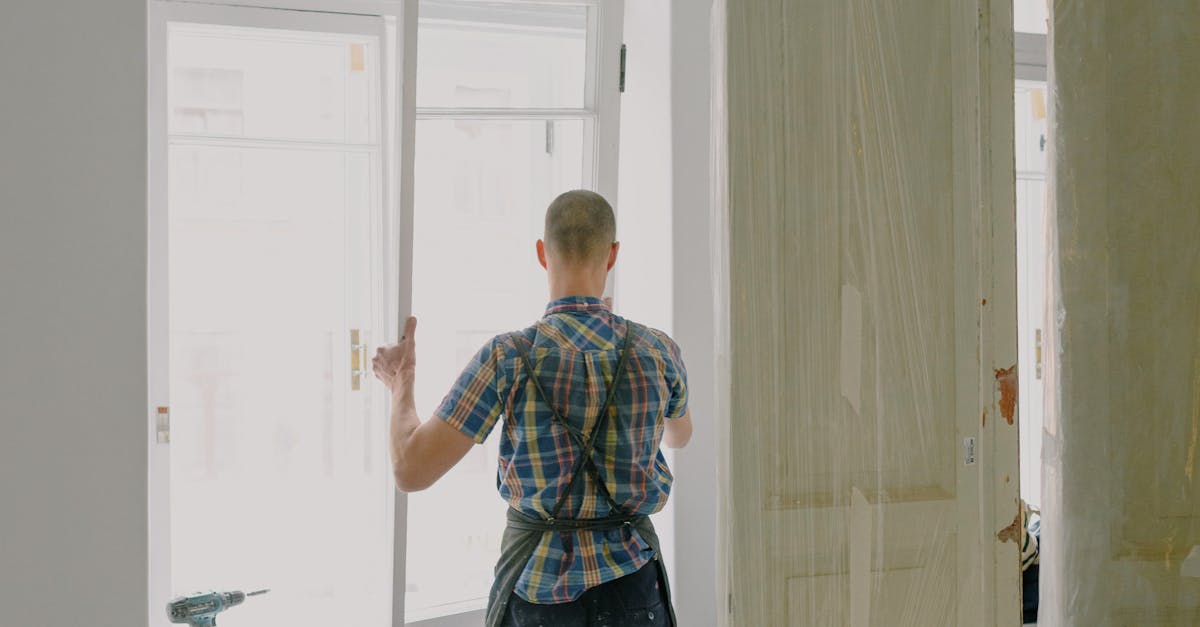
Tips for Efficient and Effective Installation of Split System Indoor Units
Proper Insulation and Sealing
When installing split system indoor units, it is crucial to pay close attention to proper insulation and sealing. This step ensures that the system operates efficiently and effectively, saving you energy and costs in the long run. Insulation helps maintain the desired temperature inside the room by preventing heat exchange with the external environment.
Sealing any gaps or leaks around the unit and its connections is essential in maintaining the system's performance. This prevents air from escaping or entering where it shouldn't, leading to energy loss and potential strain on the system. By taking the time to insulate and seal the unit correctly, you can improve its overall efficiency and ensure a comfortable indoor environment.
Preventing Air Leaks and Energy Loss
To prevent air leaks and minimize energy loss, it is crucial to carefully inspect and seal all gaps and openings around the split system indoor unit. Any small openings or cracks in the walls, ceilings, or floors can result in air leakage, making the system work harder to maintain the desired temperature and leading to increased energy consumption. By using high-quality sealants or insulation materials, you can effectively seal off these areas and improve the overall efficiency of the installation.
Furthermore, checking the condition of the ductwork and ensuring that it is properly sealed can also help in preventing air leaks and reducing energy wastage. Any leaks or gaps in the ductwork can cause cool or warm air to escape, resulting in energy loss and decreased effectiveness of the system. By conducting a thorough inspection and repairing any damages or leaks in the ducts, you can maintain a more efficient and cost-effective operation of the split system indoor unit.
Testing the System for Efficiency
Testing the split system for efficiency is a crucial step in ensuring optimal performance and energy savings. Start by checking the airflow from the indoor unit to ensure it is consistent and strong. Poor airflow can indicate blockages or issues within the system that need to be addressed promptly. Next, measure the temperature output of the unit to verify that it is reaching the desired level set on the thermostat. This step will help identify any potential issues with the refrigerant levels or other components affecting the cooling or heating capacity of the system.
Additionally, conduct a thorough inspection of the ductwork and connections to ensure there are no leaks or loose fittings that could impact the system's efficiency. Any air leaks can lead to energy wastage and decreased performance of the split system. Finally, run the system for an extended period to monitor its performance and energy consumption. Keep an eye on any unusual noises or vibrations that could indicate a problem with the installation or components of the indoor unit. Testing the system for efficiency will not only ensure optimal performance but also help in identifying any issues that need to be addressed promptly.
Confirming Proper Functionality of Controls
To confirm the proper functionality of controls for a split system indoor unit, it is essential to systematically check each control setting and corresponding action. Begin by verifying that the remote control is synced with the unit and that all buttons respond appropriately to commands. Adjust the temperature settings to ensure that the system can accurately heat or cool the room according to your preferences.
Next, test the various modes such as cooling, heating, fan-only, and dehumidification to confirm that each mode functions correctly. Pay close attention to any unusual noises or odours that may indicate a malfunction. Additionally, inspect the display panel on the indoor unit to ensure that it accurately reflects the selected settings and modes of operation. By meticulously assessing the controls, you can guarantee that the split system indoor unit operates efficiently and effectively.
Troubleshooting Common Installation Issues
When troubleshooting common installation issues with split system indoor units, it is important to first check the electrical connections. Ensure that all connections are secure and properly fitted to avoid any electrical malfunctions. Additionally, inspect the wiring for any signs of damage or wear that may be causing issues with the system.
Another common issue to look out for is improper drainage. If the indoor unit is not draining properly, it can lead to water leaks and potential damage to the unit. Make sure that the drainage pipes are clear of any debris or obstructions that may be causing the blockage. Regularly cleaning and maintaining the drainage system can help prevent this issue from occurring in the future.
Addressing Leaks or Incorrect Airflow
When addressing leaks or incorrect airflow in split system indoor units, it is crucial to first identify the source of the problem. Leaks can often occur around the connections between the indoor unit and the ductwork, or due to gaps in the insulation. By closely inspecting these areas, you can pinpoint where the leaks are coming from and take appropriate action to seal them effectively.
Incorrect airflow can lead to inefficient cooling or heating, impacting the overall performance of the split system unit. To address this issue, check the air filters to ensure they are clean and not clogged. Additionally, inspect the vents and ensure they are open and unobstructed to allow for proper air circulation. By maintaining clean filters and ensuring unobstructed airflow, you can help improve the efficiency and effectiveness of the split system indoor unit.
FAQS
What is the importance of proper insulation and sealing in the installation of split system indoor units?
Proper insulation and sealing help in maintaining the efficiency of the system by preventing air leaks and ensuring that the conditioned air stays inside the designated space.
How can I prevent air leaks and energy loss during the installation of split system indoor units?
You can prevent air leaks and energy loss by carefully sealing all gaps and ensuring that the connections between components are airtight to avoid any unnecessary loss of cooled or heated air.
Why is it essential to test the system for efficiency after installation?
Testing the system for efficiency post-installation ensures that all components are working correctly, and the unit is running optimally, thus maximizing its performance and energy efficiency.
What steps should be taken to confirm the proper functionality of controls in a split system indoor unit?
To confirm the proper functionality of controls, you should test each control function individually to ensure they are responding correctly and adjust settings as needed to achieve the desired indoor climate.
How can I troubleshoot common installation issues with split system indoor units?
Common installation issues such as leaks or incorrect airflow can be addressed by checking for blockages, adjusting the placement of components, and ensuring that all connections are secure and properly sealed for optimal operation.
Related Links
Best Practices for Installing a Split System Indoor UnitEnsuring Proper Positioning and Mounting of a Split System Indoor Unit
Common Mistakes to Avoid During the Installation of Split System Indoor Units
Safety Precautions During the Installation of Split System Indoor Units
Preparing for the Installation of a Split System Indoor Unit
Key Factors to Consider During the Installation of a Split System Indoor Unit
Understanding the Installation Requirements for a Split System Indoor Unit
Steps for Properly Installing a Split System Indoor Unit